REVIEW · SEDONA
Sedona Hi-Points Luxury Van Tour
Book on Viator →Operated by Red Rock Magic Trolley · Bookable on Viator
Sedona’s best photo stops come fast. This 2-hour Sedona Hi-Points Luxury Van Tour is built for people who want the big names—without getting stuck in parking or spending your day hunting for viewpoints. You also get a guided orientation as you move between stops, with time set aside for pictures and short walks.
I like the small group size (up to 12) and the fact that you’re in an air-conditioned vehicle while you hop between key places. I also like that the tour includes guided stops at the Chapel of the Holy Cross and Bell Rock, so you’re not just looking out a window with zero context.
One drawback to plan for: Sedona traffic can steal time, and in some cases the tight schedule can mean a stop gets cut or the tour runs shorter than expected.
In This Review
- Key highlights at a glance
- A practical 2-hour plan for seeing Sedona’s highlights
- Where you meet and how check-in actually works
- Stop 1: Route 179 hi-points drive-by and setup time
- Stop 2: Chapel of the Holy Cross in about 25 minutes
- Stop 3: Bell Rock quick stop plus guided scenery
- Stop 4: Airport Mesa for Wild West and Native culture stories
- The guide factor: what Scott, Salt, Fire Fox, and Noel bring
- Comfort and the “luxury” label: worth it, with a reality check
- Price and value: what $45.95 buys you in real time
- When this tour makes sense (and when to choose longer plans)
- Should you book the Sedona Hi-Points Luxury Van Tour?
- FAQ
- How long is the Sedona Hi-Points Luxury Van Tour?
- What is the price per person?
- How many people are on the tour?
- Where do I check in and where is the meeting point?
- Is hotel pickup and drop-off included?
- What stops are included?
- Is admission included for the stops?
- Does the tour use an air-conditioned vehicle?
- What languages are offered?
- Do children need a car seat?
- What if I need to cancel?
Key highlights at a glance
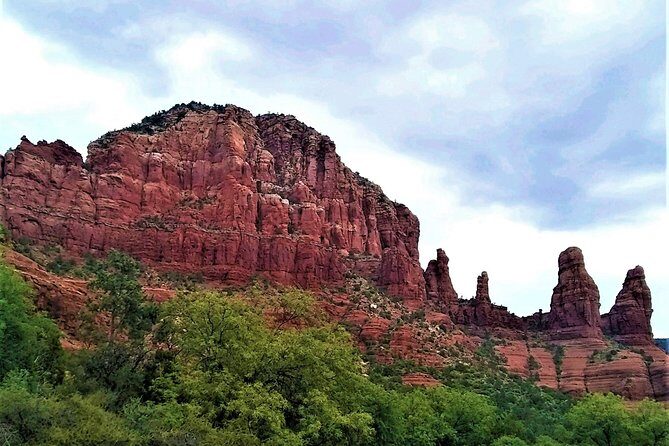
- Up to 12 people in a luxury-style air-conditioned van, so it feels more personal than a large bus.
- Icon stops built in: Chapel of the Holy Cross, Bell Rock, and Airport Mesa.
- Time for photos, not just driving by—each main stop is short but purposeful.
- Guides who tell you what you’re looking at, including Scott, Salt, Fire Fox, and Noel.
- Route 179 orientation gives you a sense of where things are before you go explore on your own.
A practical 2-hour plan for seeing Sedona’s highlights

Sedona is gorgeous, but “I’ll figure it out later” can turn into circling parking lots and missing viewpoints. This tour is sized for reality: about 2 hours, with short stops so you can still have energy (and daylight) for the rest of your trip.
The best part of this format is clarity. You arrive, you check in, you get guided context at the right places, and then you’re done while the day is still flexible. If you’re only in town for a short time, this is one of the easiest ways to get a high-impact overview.
It also works if you’re not trying to stack a long day of hikes. The stops are brief and photo-friendly, with enough “look around” time to make the pictures worth it, and enough guidance that you don’t feel lost at the start.
A few more Sedona tours and experiences worth a look



Where you meet and how check-in actually works

This tour has two key addresses in the same area. Your start meeting point is listed as 252 N State Rte 89A, and check-in is listed at 301 N State Rte 89A, where you receive trolley tickets.
That mismatch matters. I’d treat 301 N State Rte 89A as the practical target for check-in and leave extra time to confirm you’re in the right place, since a few people have flagged issues with directions from booking help.
Bring your phone for the mobile ticket. You’ll want to be ready at check-in so the group can move quickly—this tour is short by design, and delays can compress the scheduled time.
Stop 1: Route 179 hi-points drive-by and setup time
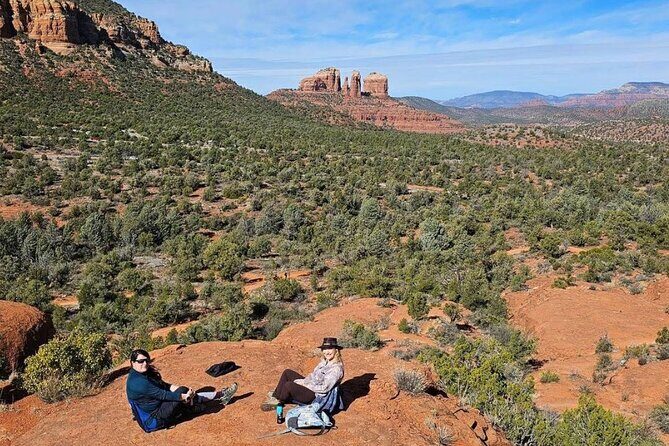
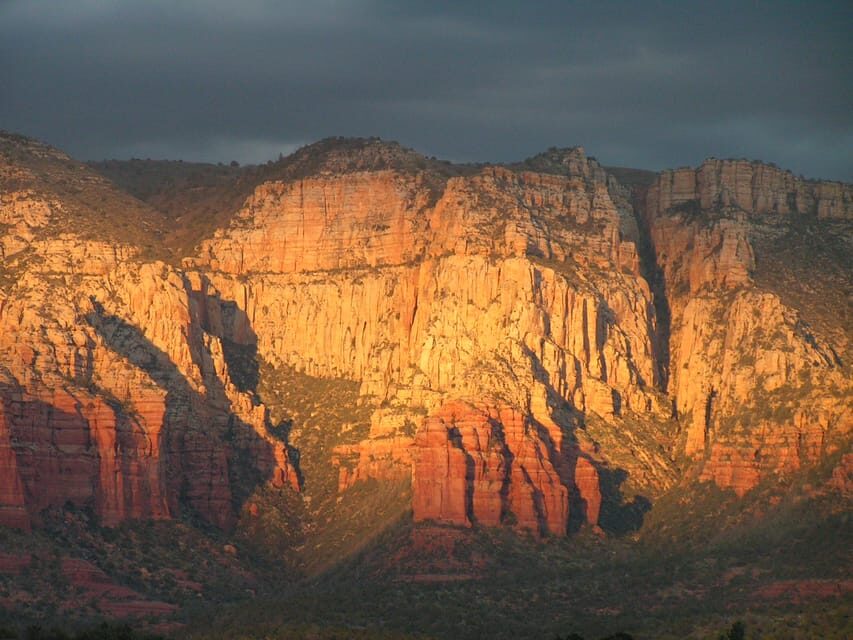
The tour begins with a look at Sedona’s Route 179 picturesque bypass, along with views of famous rock formations. This part functions like a warm-up, helping you connect what you’re seeing from the road to where you’ll be walking and photographing later.
Why this matters: Sedona can look similar from a distance until you know what names go with what views. Even if you’ve seen photos online, a quick orientation from the driver/guide makes the next stops easier.
Expect that early segment to feel fast. The tour is built around multiple short stops, so don’t come in needing a long explanation before you move on.
Stop 2: Chapel of the Holy Cross in about 25 minutes
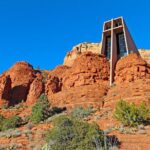
This is one of Sedona’s most recognized landmarks, and the tour gives it real attention. You’ll spend about 25 minutes at the Chapel of the Holy Cross, and admission is included.
In that time, the practical goal is photos plus a quick orientation. The chapel setting is distinctive, so you’ll want a moment to frame the building and the surrounding view, and then enough time to reposition for better angles if the crowd flow allows.
The drawback of short stops is also the same here. If you’re the type who likes a long, calm visit and lots of walking, 25 minutes can feel tight. Still, for most people it’s the right length to see it, photograph it, and move on without losing the rest of the schedule.
Stop 3: Bell Rock quick stop plus guided scenery
Next up is Bell Rock, one of Sedona’s headline formations. The scheduled stop is about 10 minutes, and admission is free.
Even with the short time, this stop can be worth it because you’re not just being dropped off. You’re on a guided bus tour that includes Bell Rock and surrounding views, and you’ll get direction on what to look for and how people often come back later for deeper exploration.
Here’s the practical thing to know: 10 minutes is primarily for quick photos and a brief look around. If you want longer time at Bell Rock, treat this tour as the introduction, then plan your return based on what you learn from the guide.





Stop 4: Airport Mesa for Wild West and Native culture stories
The last scheduled stop is Airport Mesa, about 10 minutes, with admission listed as free. You’ll get commentary tying together Sedona’s Wild West and Native culture themes, plus a photo opportunity at the mesa.
Why I like ending here: it gives you a wider “view of the area” feeling before you wrap up. It’s also a useful contrast to the more iconic, architecture-and-rock stops earlier in the tour.
That said, this is still a short stop. If your goal is a long sit-down photo session or a deeper look at the details on-site, you’ll likely want to pair the tour with a separate visit later.
The guide factor: what Scott, Salt, Fire Fox, and Noel bring

This tour lives or dies on the guide. The people leading it include Scott, Salt, Fire Fox, and Noel, and the common thread in the best experiences is that the driver/guide doesn’t just point—they explain.
Good guiding changes how you see Sedona fast. One highlight people love is advice on trails that can be less crowded, plus suggestions on how to return to key landmarks to explore more deeply once you know what you want to see.
Even if your main goal is photos, a strong guide helps you get better shots. You’ll typically understand which viewpoints are worth repositioning for and what the names and formations mean in everyday context.
Comfort and the “luxury” label: worth it, with a reality check
Most of the positive energy on this tour is about comfort: the van is described as a luxury air-conditioned vehicle, and the group size is capped at 12. That makes it easier to hear the guide and less stressful than cramming into a big bus.
Still, don’t ignore the mixed notes about comfort. A small number of people reported issues like weak air conditioning and an unpleasant smell inside the van. If you’re sensitive to smells or heat, it’s smart to bring a light layer and aim for a spot where you get airflow.
Also remember: even a comfortable van can’t control the biggest Sedona variable—traffic. Some departures may spend more time on the road than expected, which can compress stop times.
Price and value: what $45.95 buys you in real time
At $45.95 per person, you’re paying for three things that are hard to DIY when you’re short on time: guided context, a structured route, and stress reduction around figuring out where to go first.
This is not a “wander at your own pace” tour. The value is in the tight planning: you hit major icons—Chapel of the Holy Cross, Bell Rock, Airport Mesa—plus the Route 179 orientation, all within about two hours.
If you’d otherwise spend hours driving and parking, the tour can feel like a smart shortcut. If you’re the kind of visitor who already has locations pinned, doesn’t mind parking logistics, and wants to linger longer at each spot, then $45.95 may feel high for what is essentially a short orientation.
A balanced way to think about it: this is best viewed as a start-your-trip overview. Do the guided primer first, then use the rest of your time to go deeper where you want.
When this tour makes sense (and when to choose longer plans)
This tour fits best when you want a quick win. It’s ideal for couples, families with kids old enough to handle short stops, and first-timers who want orientation without a full-day commitment.
The tour asks for moderate physical fitness. That usually means you’ll be doing some walking and standing for photos, but it’s not framed as an all-day hiking outing.
If you’re visiting during busy times, consider that traffic can affect timing. When you absolutely need every scheduled stop and maximum time at each one, it may be smarter to pair this tour with a plan B later that day.
And if you crave long viewpoints and slow photography, you’ll probably feel rushed here. The tour is designed for highlights, not lingering.
Should you book the Sedona Hi-Points Luxury Van Tour?
Book it if you want an efficient introduction to Sedona’s big names. You’ll likely appreciate the small van group, the guided commentary, and the fact that the schedule is built around photo stops like Chapel of the Holy Cross, Bell Rock, and Airport Mesa.
Skip it or go in with eyes open if you’re expecting luxury-level comfort all the time or a perfectly timed run regardless of traffic. A few accounts point to weaker air conditioning and some timing issues when roads are backed up.
My rule of thumb: treat this as your day-one orientation. If you use the guide’s pointers to plan your next visits, the tour often feels like a bargain. If you only want a generic drive-by and you already know exactly where you’re going, you might prefer spending that time on a self-paced route.
FAQ
How long is the Sedona Hi-Points Luxury Van Tour?
The tour lasts about 2 hours.
What is the price per person?
It costs $45.95 per person.
How many people are on the tour?
The van has a maximum of 12 travelers.
Where do I check in and where is the meeting point?
The start meeting point is 252 N State Rte 89A, Sedona, AZ 86336. Check-in is listed at 301 N State Rte 89A, where you receive trolley tickets.
Is hotel pickup and drop-off included?
No. Hotel pickup and drop-off are not included.
What stops are included?
You’ll visit Chapel of the Holy Cross, Bell Rock, and Airport Mesa, plus a segment viewing Sedona’s Route 179 area.
Is admission included for the stops?
Admission is included at Chapel of the Holy Cross. The other listed stops (Bell Rock and Airport Mesa) are listed as free.
Does the tour use an air-conditioned vehicle?
Yes. It’s described as traveling in an air-conditioned luxury van.
What languages are offered?
The tour is offered in English.
Do children need a car seat?
Yes. For children 6 and under, you should bring a carseat. Children must also be accompanied by an adult.
What if I need to cancel?
You can cancel for a full refund up to 24 hours before the experience’s start time.