REVIEW · SEDONA
Half-day Sedona Sightseeing Tour
Book on Viator →Operated by Scenic Sedona Tours · Bookable on Viator
Sedona’s red rocks hit fast, and this route delivers. I like the small group setup and the open-air vehicle feel, so you get good sightlines without getting crushed in a big bus.
You also get a thoughtful mix of classic icons and quieter, more reflective stops like the Peace Park area.
The only real catch is pacing: at each main photo spot, you’ll have limited time, so this works best if you’re happy with highlights (not slow wandering).
In This Review
- Key Points to Know Before You Go
- Setting Off From Sedona’s Easy Meeting Point
- Open-Air Views Without the Big-Bus Hassle
- Bell Rock: The Icon That Helps You Learn the Layout
- Chapel of the Holy Cross: Classic Vistas, Easy Visit
- Cathedral Rock and the Sedona-Style Photo Stops
- Tlaquepaque Arts & Shopping Village: The Best Lunch Setup
- Sedona Airport Scenic Overlook: Quick View, Worth It
- Amitabha Stupa and Peace Park: A Pause From the Photo Sprint
- Rachel’s Knoll and the Vortex Story in Plain Language
- Red Rock Scenic Byway: The Museum Without Walls Feeling
- Thunder Mountain: The Lightning Reputation and the Big Sky Factor
- Pacing, Comfort, and What to Bring
- Who This Tour Fits Best (and Who Might Want Something Else)
- Should You Book the Half-Day Sedona Sightseeing Tour?
- FAQ
- Where do I meet for the Half-day Sedona Sightseeing Tour?
- How long is the tour?
- Is there a time choice for this tour?
- How many people are in the group?
- What’s included in the tour?
- What stops are part of the itinerary?
- Do I need to buy tickets for the stops?
- Can I bring snacks or drinks?
- Is lunch included?
- Is there free parking at the meeting point?
Key Points to Know Before You Go
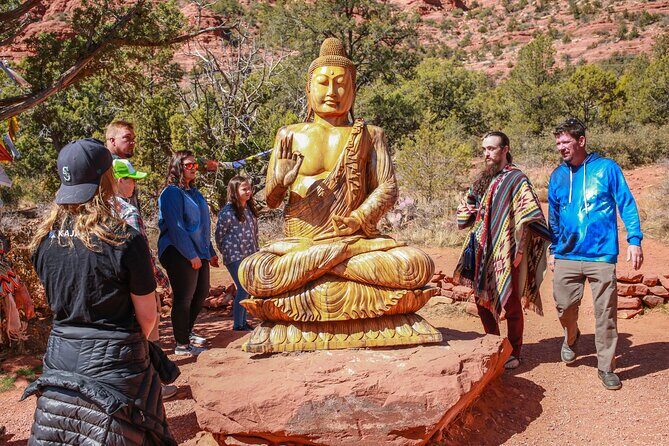
- Small group size (max 13 people) means you’re not lost in the crowd.
- Open-air, 360-degree style viewing helps you photograph Sedona’s red rock country fast.
- Free admission at key stops makes the schedule easier to manage.
- Vortex-focused stops like Rachel’s Knoll are built into the ride, not tacked on at the end.
- Plenty of onboard time + lunch window means you can eat without turning it into a whole second trip.
Setting Off From Sedona’s Easy Meeting Point

This is a half-day tour designed for getting oriented quickly. You meet in the Sedona area at Safeway Mall (2370 AZ-89A Unit #5) for the departure, and you’ll ride back there at the end. There’s also free parking in their main lot, which matters in Sedona where street parking can be a gamble.
The schedule is also convenient if you’re doing other plans the same day. The tour runs about 5.5 hours and, for the 10:00 AM departure, returns around 3:30 PM. There are two tour times available, so you can usually pick the one that best fits your day.
I like tours like this when I want the “best-of” without committing to a full-day driving marathon. Sedona can be spread out, and the road layout rewards people who already know where to aim their time.
Other Sedona sightseeing tours worth a look


Open-Air Views Without the Big-Bus Hassle
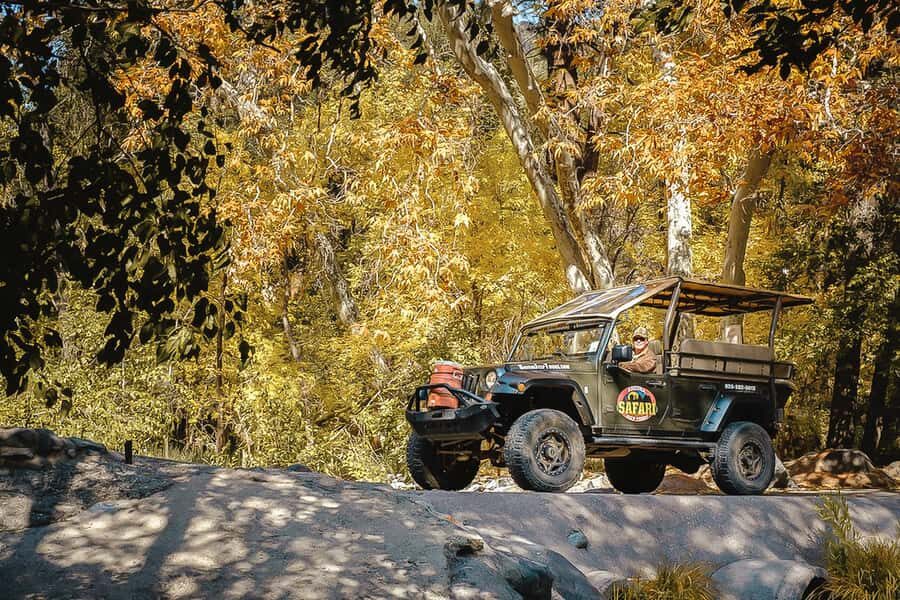
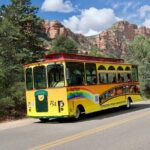
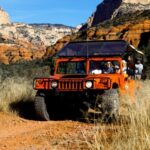
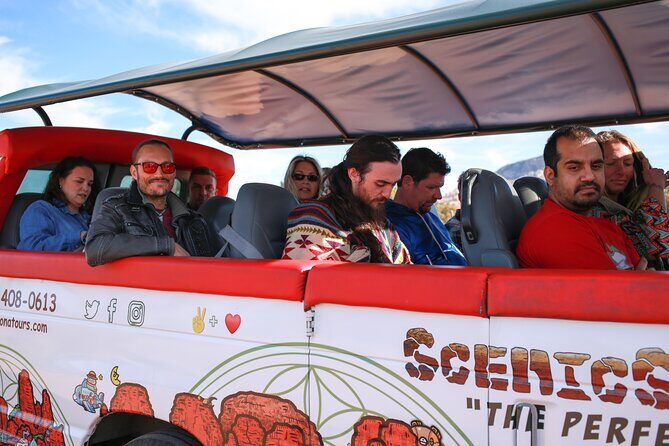
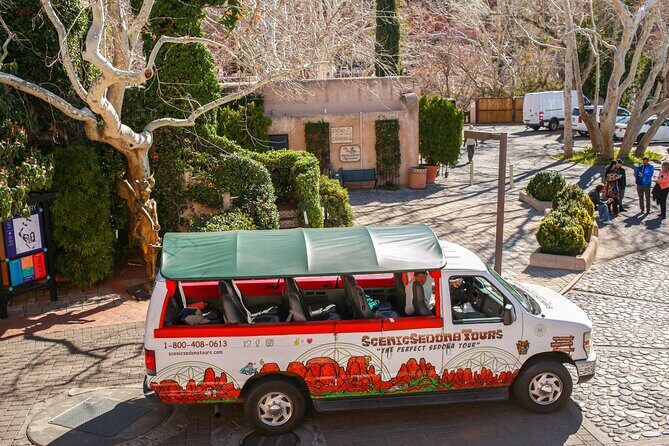
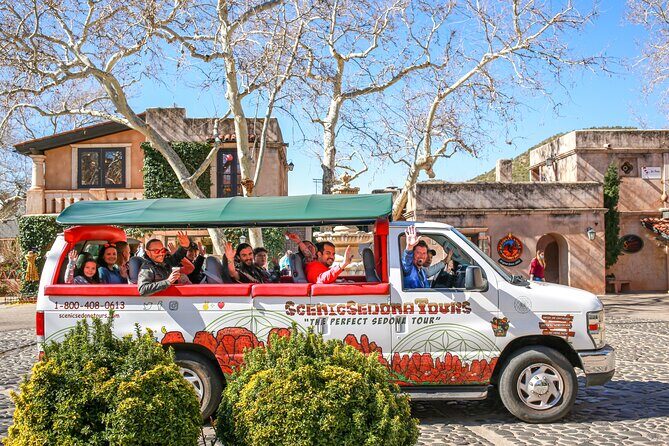
The ride is a big part of why this tour works. You’ll travel in an open-air vehicle with 360-degree viewing, and it has shade (which is a lifesaver when the sun is doing its thing). That means you’re not stuck peering through tiny windows.
The other practical win is the group size. With a maximum of 13, you’re less likely to feel like you’re herded and more likely to get attention from the guide when you have questions. That also tends to make loading and unloading smoother at each stop.
One small consideration: because it’s open-air, plan for real weather. In Sedona, mornings and afternoons can feel different quickly. Bring a light layer if you get chilly, especially if you’re sensitive to wind.
Bell Rock: The Icon That Helps You Learn the Layout
Before you hit the major stops downtown, you’ll make time to visit Bell Rock. Even if you’ve seen Bell Rock in photos, seeing it from the right angles in person helps you understand why Sedona gets obsessed attention from photographers, hikers, and geology fans.
This is also one of those places where you can get a feel for the rock shapes and the general “neighborhood” of where you’ll be sightseeing. If you’re the type who likes to connect landmarks in your head, this early stop makes the rest of the day easier to follow.
You’re not there long, so treat it like a “get your bearings” moment. Grab photos, take in the scale, then roll.
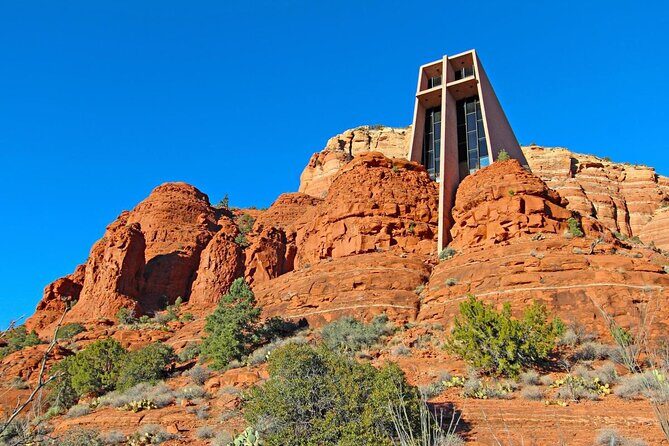
Chapel of the Holy Cross: Classic Vistas, Easy Visit
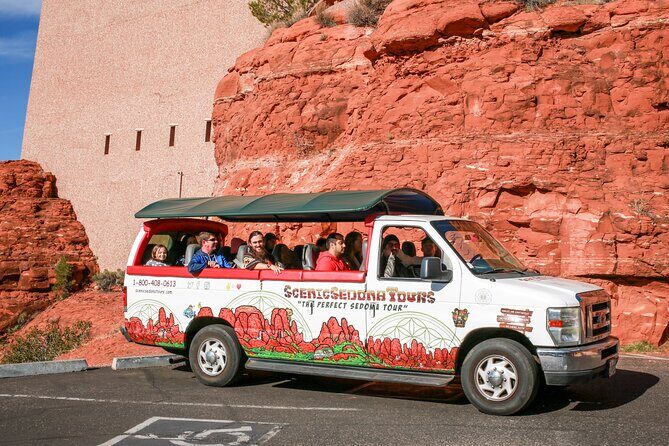
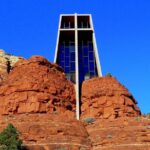
Next up is the Chapel of the Holy Cross, with about 30 minutes on site. Admission is listed as free, which is a nice bonus when you’re doing multiple stops on one afternoon.
What makes this chapel special isn’t just the architecture—it’s the way the building frames Sedona’s red rock walls. The setting creates a natural viewpoint, so even if you’re not religious, it’s still a striking place to pause and look around.
The time slot is short, so don’t expect a slow, lingering visit. Go with a mission: a few good angles for photos, a quick look at the chapel itself, then step back outside to enjoy the broader view.
Cathedral Rock and the Sedona-Style Photo Stops
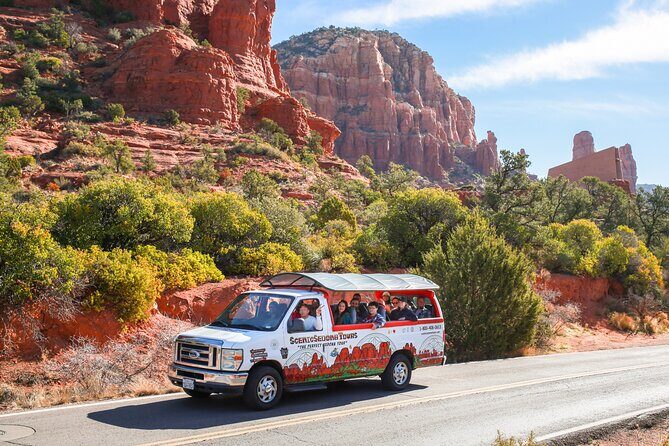
From there, the route moves through Cathedral Rock. This is one of those Sedona landmarks that people recognize instantly, even if they don’t know the name. It’s a “everyone wants a picture here” location.
Because the itinerary is designed as a half-day highlights tour, you should expect quick stops more than extended walks. That doesn’t make it any less worthwhile—it just means you’ll want to come ready to move: camera in hand, water nearby, and comfortable shoes.
If you prefer quiet, long pauses, you might feel slightly rushed here. If you like efficient sightseeing, this pacing is exactly the point.
A few more Sedona tours and experiences worth a look


Tlaquepaque Arts & Shopping Village: The Best Lunch Setup
The Tlaquepaque Arts & Shopping Village stop is about 1 hour, and admission is listed as free. This is where the day turns from photo-run into time to breathe and browse.
I like this stop because it gives you options. You can stretch your legs, wander at your own speed, and choose something to eat later. The tour timing also leaves room during the day for you to purchase lunch, and this area often lines up nicely with that plan.
What to watch for: shopping spots can pull you in for longer than you planned. If you’re trying to see everything on schedule, set a self-timer. Walk, look, enjoy—then leave before the tour moves on.
Sedona Airport Scenic Overlook: Quick View, Worth It
You’ll then head to the Sedona Airport Scenic Overlook for around 30 minutes. Admission is listed as free, and this is a good “photo and breathe” segment.
Overlooks in Sedona can be different in character depending on the angle. This stop is valuable because it changes the view you’ve been getting. Instead of only thinking in terms of iconic rock formations, you start thinking in layers—how the shapes stretch out and how the terrain rolls.
Bring your camera, but also take 20 seconds to just stand and look. The best views don’t always need extra zoom.
Amitabha Stupa and Peace Park: A Pause From the Photo Sprint
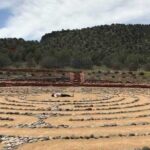
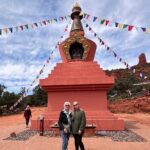
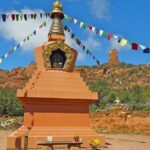
Mid-tour, you’ll visit the Amitabha Stupa & Peace Park for about 30 minutes, again with free admission listed. If the earlier stops feel like they’re built for speed (and they are), this one slows things down.
I like that it’s not just a quick photo moment. A stupa-and-park stop tends to give you a more reflective break, and you’ll likely find it calmer than the bigger landmark photo pull-offs.
This is the sort of stop where you’ll benefit from quiet attention. Don’t rush it like you would a picture-perfect roadside stop. Even 15 minutes of relaxed looking can make the rest of the day feel more enjoyable.
Rachel’s Knoll and the Vortex Story in Plain Language
Next comes the vortex-focused stop at Rachel’s Knoll. Sedona is famous for stories about geomagnetic vortexes, often described as natural energy centers. People report feeling inspired or spiritually moved there, and the stop is clearly built around that theme.
Rachel’s Knoll is also tied to the idea of the space being used for meditation and prayer gatherings. In practice, you’ll likely treat this as a short moment to sit, reflect, and take in the atmosphere.
Important reality check: this is a belief-based experience more than something you can measure with instruments. If you’re open to it, you may get a lot out of the quiet time. If you’re not into vortex lore, you can still enjoy it as a calm viewpoint and rest stop with Sedona all around you.
Red Rock Scenic Byway: The Museum Without Walls Feeling
After the vortex pause, the ride continues as you cruise the Red Rock Scenic Byway—Sedona’s version of a museum with no walls. This is where the tour earns its keep as a “ride with meaning,” not just a series of roadside stops.
You’ll get sweeping views of the famous red rock country. Even if you’ve already seen images online, seeing how the terrain changes as you drive helps you understand why Sedona feels so different from other desert towns.
This section is also a good time to check your photo strategy. If you’re chasing the best shots, watch for how light hits the rock faces as you move.
Thunder Mountain: The Lightning Reputation and the Big Sky Factor
The tour finishes this sightseeing loop by giving you a view of Thunder Mountain. It’s known as one of Sedona’s higher summits, and it has a reputation for lightning strikes during thunderstorms.
Even if you’re not there during storm weather, Thunder Mountain still helps you put the scale of Sedona into perspective. It’s the kind of landmark that turns a day of stops into a larger story about altitude, weather, and rock formation.
If you’re planning a hike later, this final segment can also help you mentally map where trails and viewpoints might be anchored.
Pacing, Comfort, and What to Bring
This is a half-day, not a full-day expedition. You’ll get multiple stops, but each one is timed—some are around 30 minutes, one is about 1 hour, and then you move on. That’s part of the value: you cover more highlights with less driving time.
You’ll be provided bottled water, which is a solid baseline. Lunch and snacks aren’t included, though, so you’ll want to plan ahead. The tour notes that there’s time to purchase lunch during the day, and the midday structure supports that.
Practical packing tips that fit this exact style of tour:
- Wear comfortable walking shoes. Even “short stops” add up.
- Bring a light layer for open-air riding.
- Have your camera ready. The open-air, 360-degree view makes it worth it.
- Consider bringing a small snack if you tend to get hungry before lunch.
Who This Tour Fits Best (and Who Might Want Something Else)
This half-day tour is best for you if you want top landmarks, fast orientation, and a guide-managed route. It’s also a good choice when you don’t want the stress of driving around Sedona’s busy areas and hunting for parking while trying to photograph everything in one day.
You’ll likely enjoy it most if:
- you’re short on time and still want multiple iconic stops
- you like photography and scenic driving with frequent viewpoints
- you prefer a small group setting for easier conversation and smoother transitions
You might want a different style of tour if you’re the type who hates time limits. Some people want long walks, slow coffee breaks, and a flexible schedule. This one is tuned for efficient highlights.
Should You Book the Half-Day Sedona Sightseeing Tour?
If you’re trying to decide, here’s my take: this tour looks like strong value for a first or second visit to Sedona. The combination of small group size, open-air views, multiple major stops, and built-in time to buy lunch is a practical mix. Plus, several key stops are listed with free admission, which reduces decision fatigue.
I’d book it if your goal is to see the best-known Sedona landmarks without overthinking logistics. I’d skip it if you want long, deep exploration at one or two sites, or if you prefer to drive your own route at your own pace.
Either way, do yourself a favor: choose the tour time that gives you energy for photos and walking, and pack for sun plus sudden chill. Sedona rewards that mindset.
FAQ
Where do I meet for the Half-day Sedona Sightseeing Tour?
You depart from Safeway Mall, 2370 AZ-89A Unit #5, Sedona, AZ 86336.
How long is the tour?
The tour runs about 5.5 hours and returns around 3:30 PM for the 10:00 AM departure.
Is there a time choice for this tour?
Yes. You can select from two tour times to fit your schedule.
How many people are in the group?
The maximum group size is 13 people.
What’s included in the tour?
Bottled water is included.
What stops are part of the itinerary?
You’ll visit Bell Rock, the Chapel of the Holy Cross, Cathedral Rock, Tlaquepaque Arts & Shopping Village, Sedona Airport Scenic Overlook, Amitabha Stupa and Peace Park, Rachel’s Knoll (vortex stop), and you’ll cruise the Red Rock Scenic Byway with views including Thunder Mountain.
Do I need to buy tickets for the stops?
Admission is listed as free for the stops included in the itinerary such as the Chapel of the Holy Cross, Tlaquepaque, and multiple scenic/park stops.
Can I bring snacks or drinks?
Yes. Bottled water is provided, and you can bring your own snacks and drinks.
Is lunch included?
Lunch is not included, but the schedule allows time to purchase lunch.
Is there free parking at the meeting point?
Yes. There is plenty of free parking available in the main lot.